Introduction
One of the things that keeps me sane enough is building things, making them with my own hands and using them daily.
This last year that process of building my workshop has accelerated, now that many other things are into place I can (kind of) spend more of my off-work time working on my crafts and so I get to decide sometimes what I WANT to build instead of just what I NEED to (this doesn’t mean I don’t have a MUST DO list longer than my time in this earth, just that is not THAT urgent, just important).
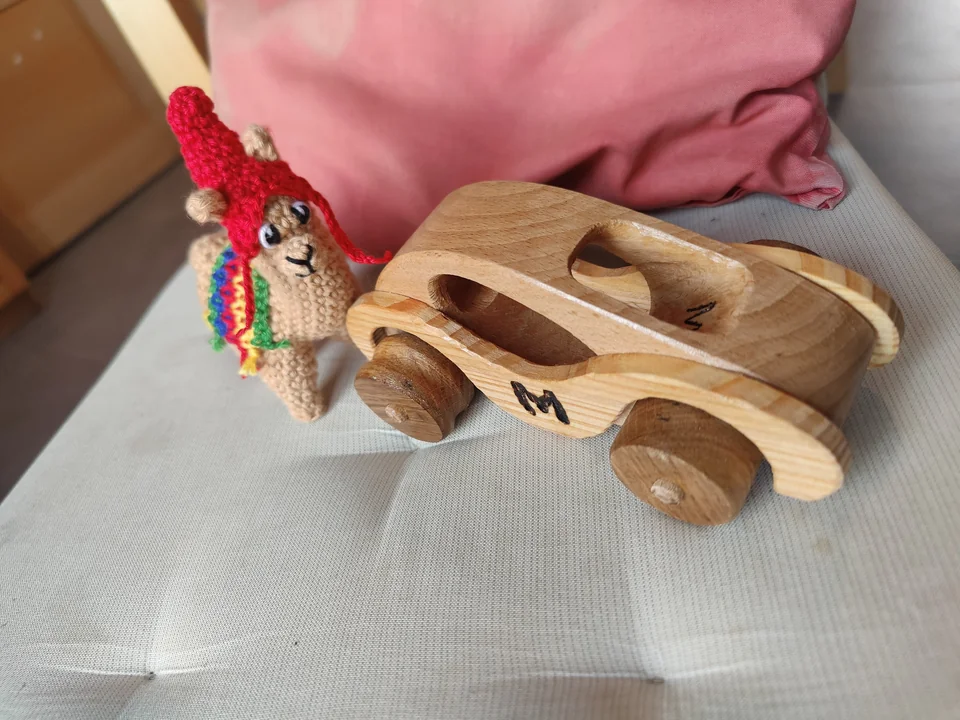
This post is about one of those instances, here a preview of the result:
What I love about building these “simple” things is that while it seems just a couple of cuts, glue and sanding is actually quite a longer and more complex process, all takes a directed and focused approach and each small detail matters.
Details matter, but some more than others, some are left rough on purpose, some are less “exact” just to leave that personal print that will be left, some are due to lack of time (at the end economy is and always was an important thing). Some other parts are softened and smoothed.
An example that I had to pay attention to is that wheels must squeak and wobble a bit. What for an adult is a problem I did learn from my child’s toys that in some cases it is a purposely built “feature” so I copied that here from a wheeled dog toy. The result is that the car’s ride is not smooth but a bit wobbly and that is what catches a baby’s attention.
The start
An announcement came from some friends, a new life was in the making. I decided I wanted to build (not buy) a gift for the new child. I asked my wife to make something in crochet and I would do something in wood.
So here the steps and small things that make something real.
Researching ideas
I thought about a car, wooden tools have been in human culture all over the world, wood is a noble and beautiful material and I love making things out of it. Nevertheless I DID some research, checked plans and different ideas, I still saw a similar thing to what I wanted and got to print it, I lost the link but there was a plan of a side of a car, I took that as a reference and started to work on it
I got to work
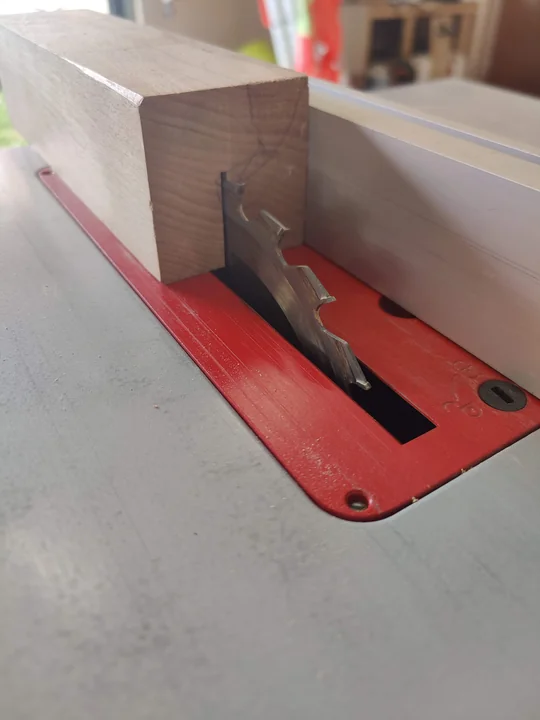
Body block
While I did some tinkering I finally landed on reusing some wood left from a table I built almost a decade ago. A beautiful piece of European Beech, a hardwood that doesn’t splinter and is smooth to the touch (and also blunts my chisels fast)

That’s too big but has enough so I went to cutting body block to width
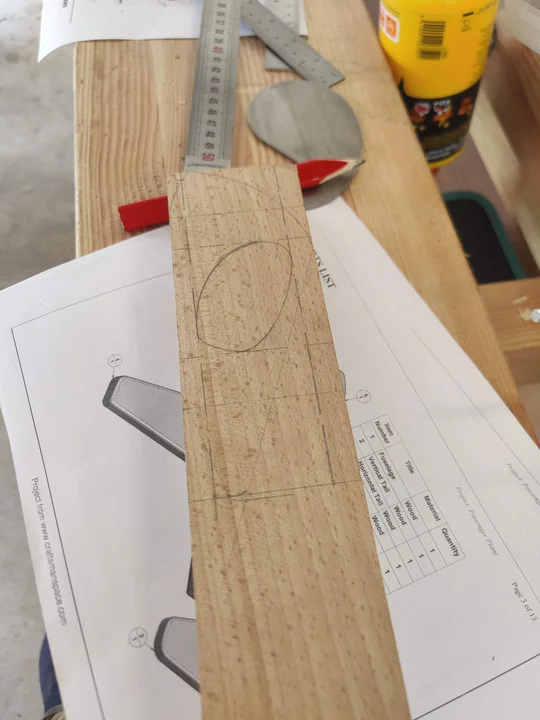
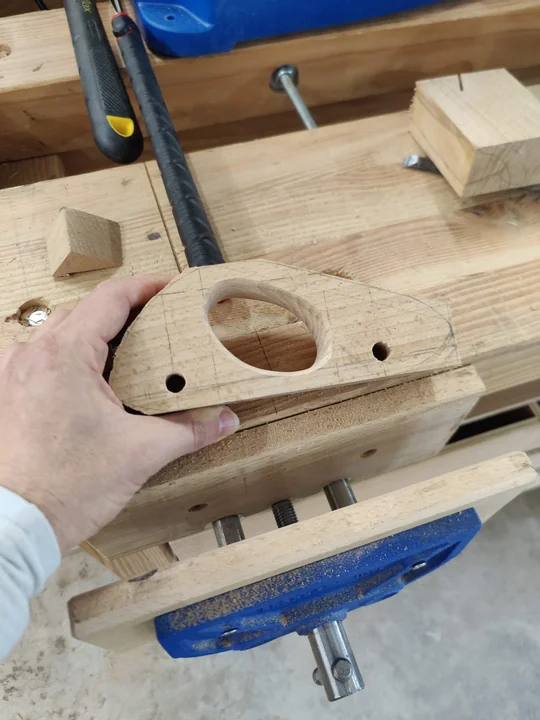
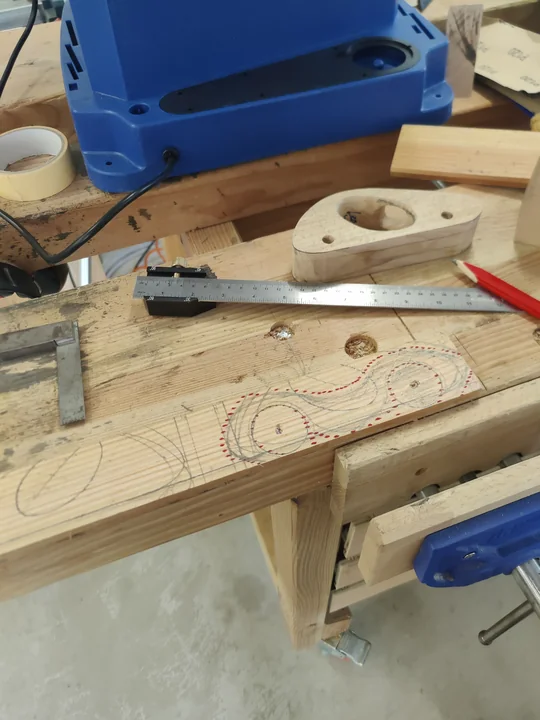
Sketching car body
One part that takes quite a long time to do is preparing and thinking about everything, what you see below the block of wood is a plan of a plane, one of the things I checked but decided not to build.
Emptying the wood so it starts to look like something
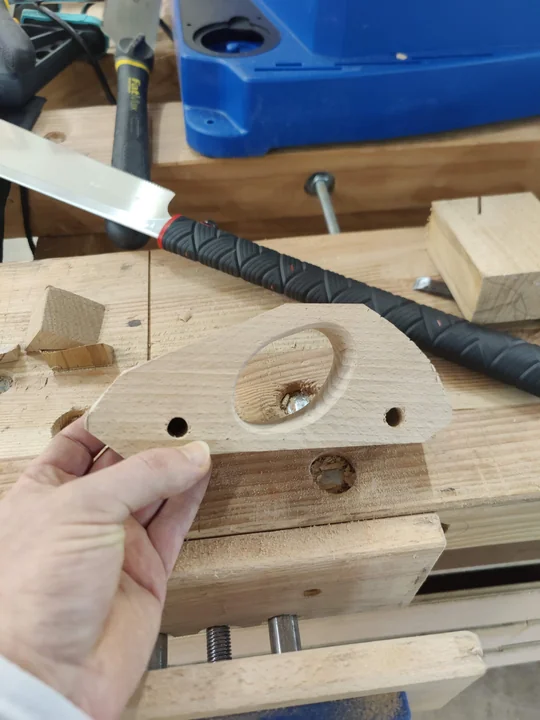
Axles need somewhere to pass through, they will be also made in european beech.
While I was trying to empty the body I noticed that it wasn’t sharp enough, cheap things are cheap for a reason (but hard to refuse 20 of these for a few euros)
So I changed drill bits and got to work

And is chisel time! My favourite time is using hand tools, and many of these are completely new and I just sharpened them!
These were not so cheap, and are really good rasps, I loved starting to use these.
Yes you can see in the background the apples reserve from last years harvest
And more nice tools usage, cutting closer to the target
There’s an emptying technique where with a saw you pre-mark everything, then with a chisel you break what was marked following the depth marked with the saw. It’s definitely easier with softer woods.
Here the results while and after cuting with the rough approximation to the shape
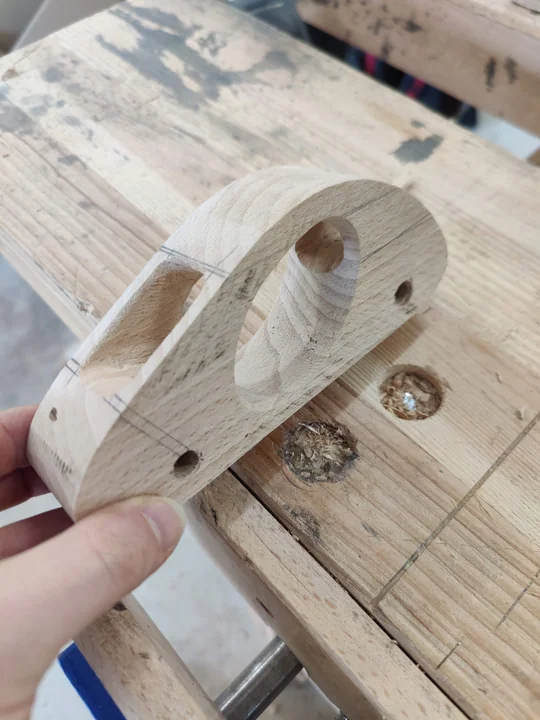
I love hand tools but sanding is not something I’m willing to spend hours doing, so I put to good use my oscilating sander to finish shaping the exterior of the body
More Drafting, More emptying
Chisel and hand tools time again!
First I drafted the front and back “glass” spaces

Here’s emptying the front and back of the car. I haven’t fit yet a handle to the rasps and that’s why the leather glove. Nevertheless handles for small rasps usually bother me for detailed work.
And here the result of it
This is still quite rough, it gets more work later, then again, and again until I decide is finished (doesn’t mean satisfied)
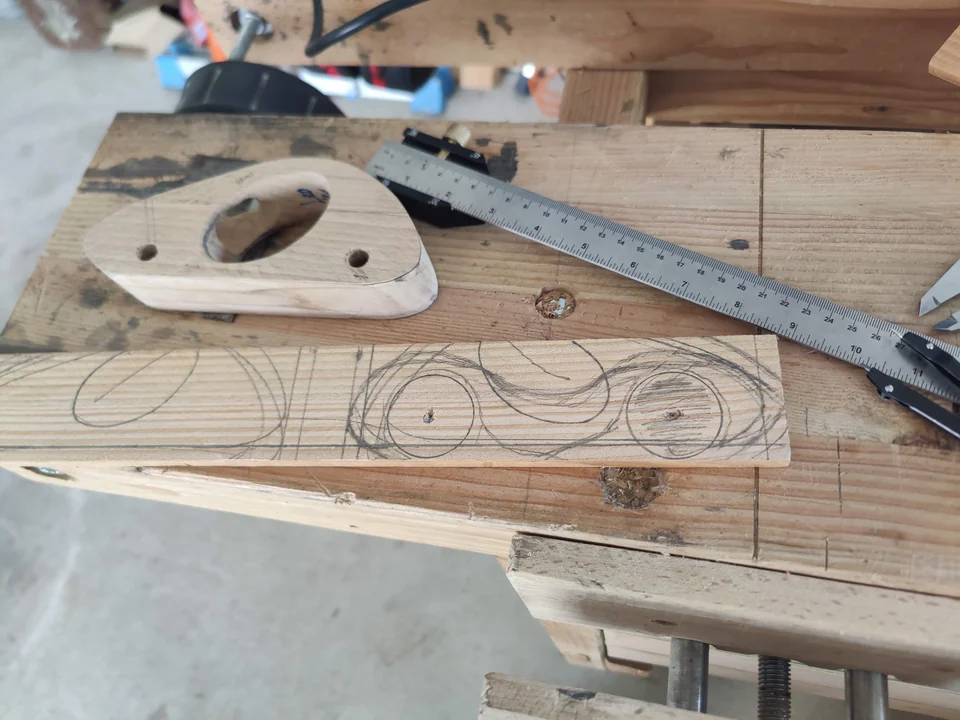
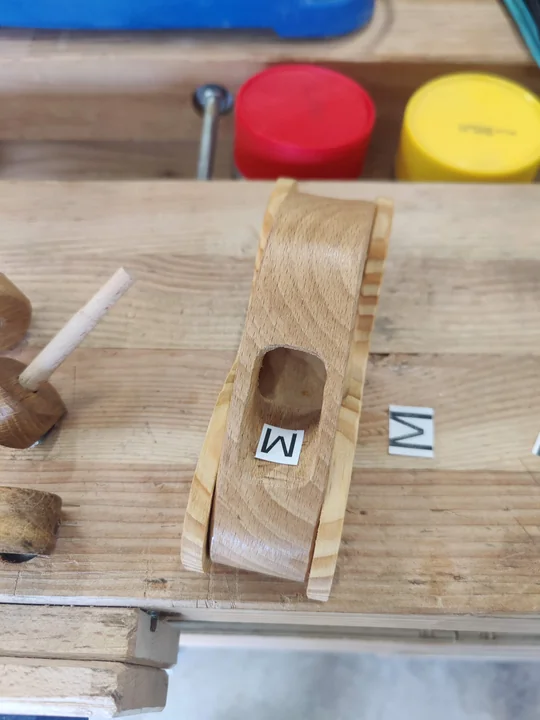
Sides — douglas fir
I wanted some stripped wood here, and I had also some douglas fir that spent 5 years there just resting at home.
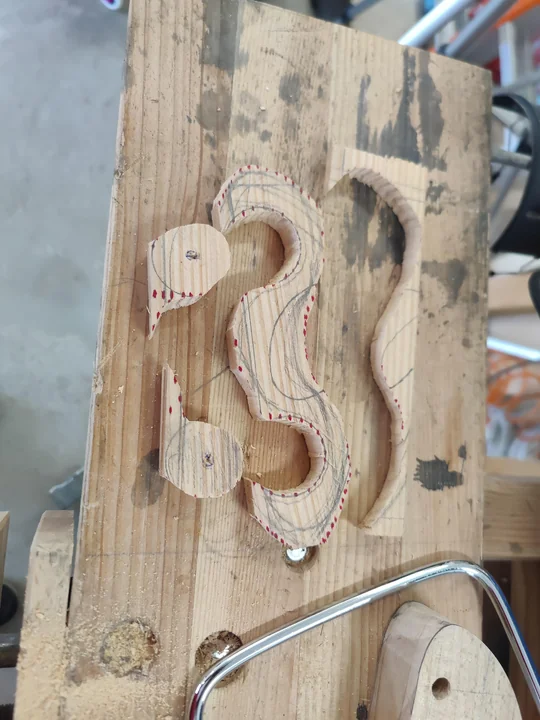
So took some, cut to approximate size and started drafting on top of it
After the drawings were convincing enough and I marked with red colour to avoid mistakes
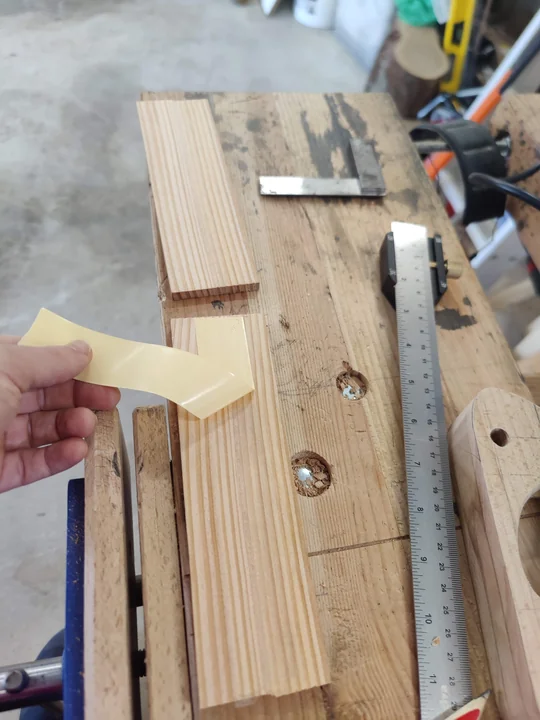
I cut it in two and put some double-sided tape to ensure cutting two identical sides.
Here the complete view of both sides
And started cutting
Here the rough results
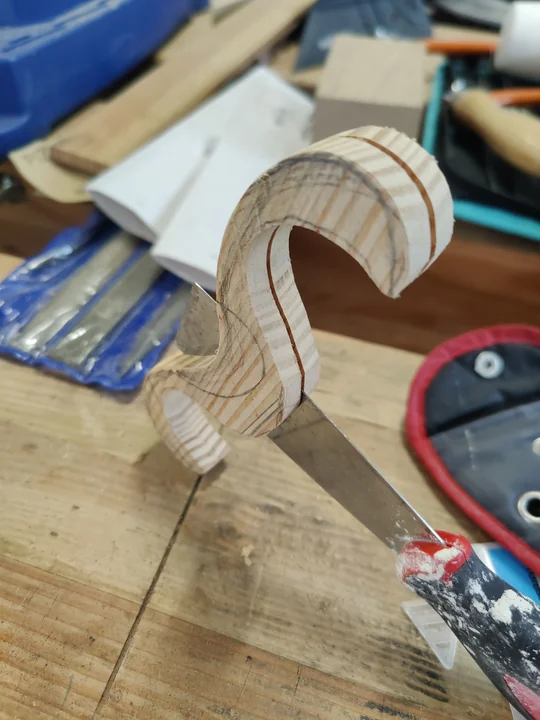
And after sanding and shaping to get closer to the target shape I split again
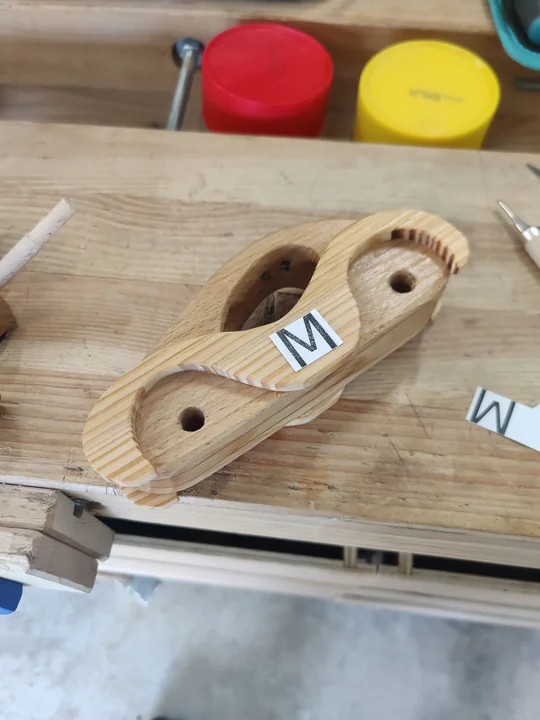
And started checking all was fitting
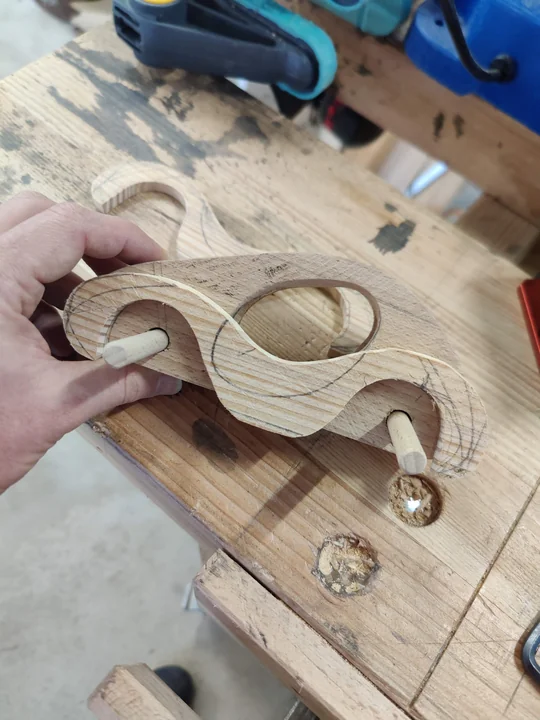
It MIGHT seem it does fit, but wheels DON’T… so had to go back to cutting and now shaping by hand cause it didn’t fit the sanding drums.
Axles
European beech is a beautiful wood in colour, texture and another wonderful characteristic: doesn’t splinter easily, for axels is a really nice thing.
So after approximating the diameter with a kind of shaping cutting tool (don’t remember the name) I got to sanding
Until it passed well enough
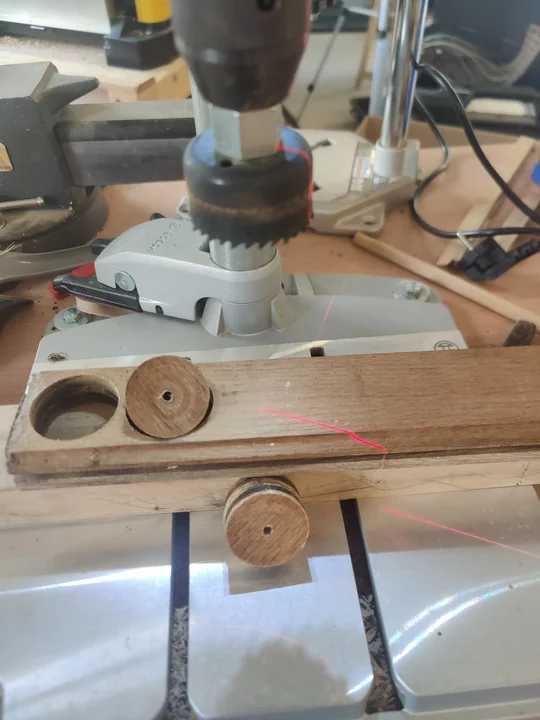
Wheels
Then it came the time to make wheels, I had some 100+ years old oak that I recovered from furniture that was going to be dumped from my wife’s grandmothers house. It was really hard.
I forgot to record during the cutting of the rough wheels, but here is something:
And then shaping to size and sanding
and sanding
This is just the start, now we have the raw parts
Start the testing of the wheels and axles
The idea is to see if things do work together, but I couldn’t yet really get the wheels in the axles cause… they are pressure fitted (and some glue to be absolutely sure, but not needed)
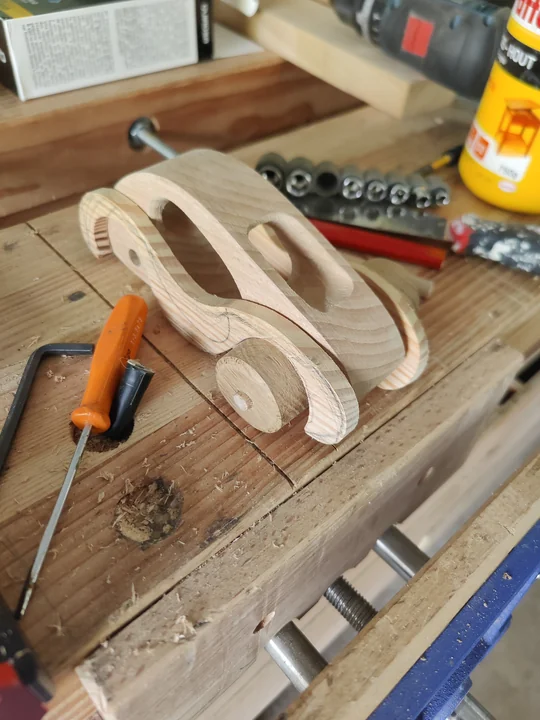
So here to see if it was rolling
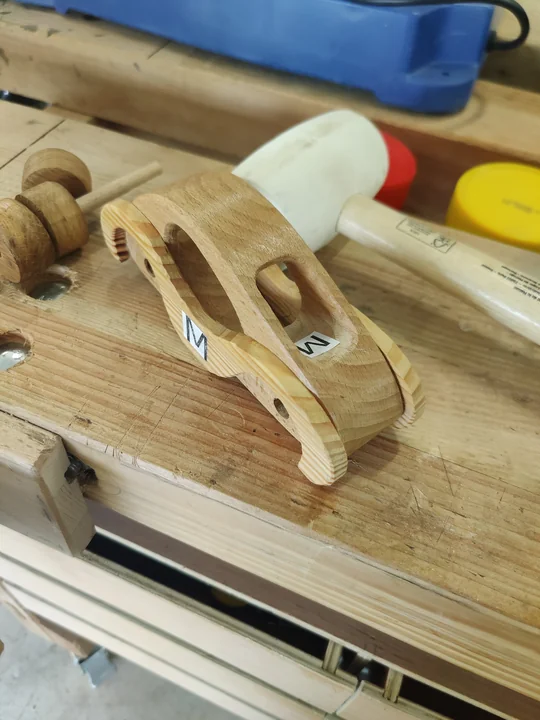
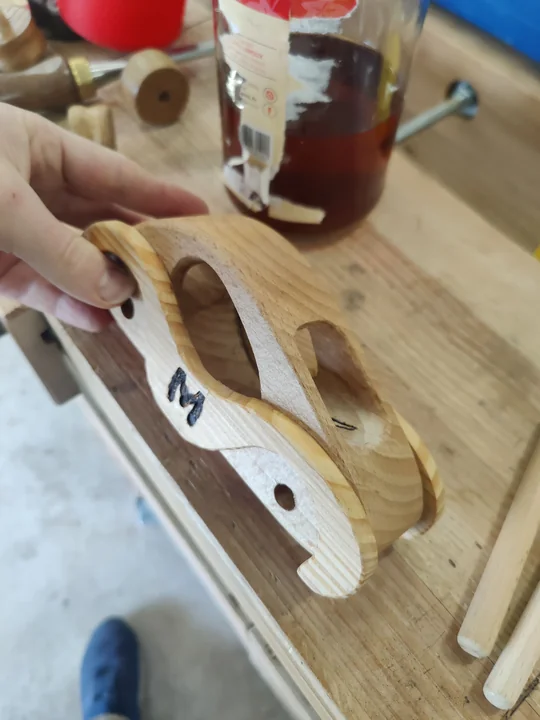
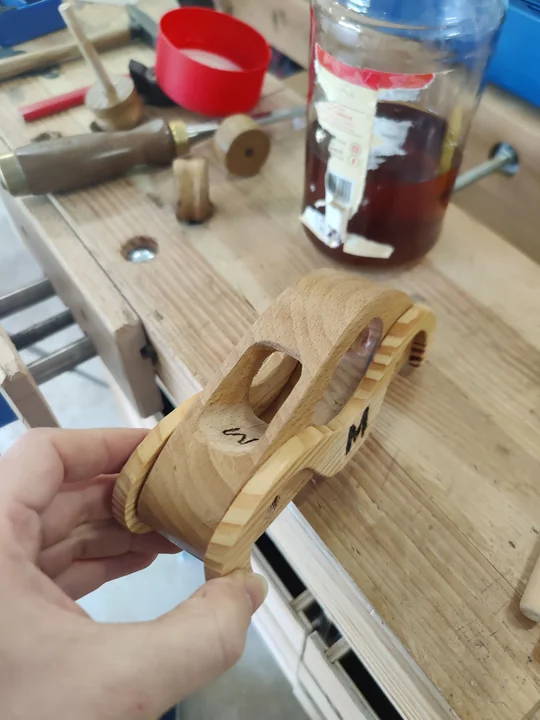
Body and Sides together
Glue is normal water based plus 3 small touches of cyanoacrylate to avoid having to wait an entire day for glue to dry, this way I set it quickly with accelerator while I wait for the wood glue to just dry and I could keep working in the meantime to start with the more finished shapes and details
Some work with the dremel, the rougher parts, my dog came to look for some love and back to play
but at the end I always end doing things manually, I like it more and is more precise
First layer of shellac
Shellac is a non-toxic (used in food non-toxic) and natural substance. It is dissolved in ethanol, after application the alcohol evaporates and only shellac stays.
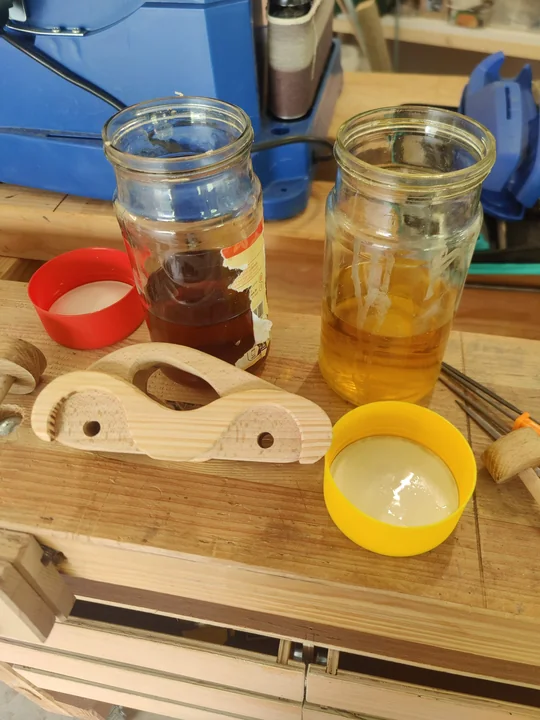
This is the first layer
Making the branding for M
I printed an entire A4 sheet with different size M letters, then fitting and checking and branding first
Carving with a few chisels then with a soldering iron to burn the wood and change the colour
First the raw borders are marked
Then the details carved
Giving the shape, place and depth to do the burning
Finishing
I applied another couple of layers of shellac.
Wood will be brighter and smoother with use and the natural oils from the skin, I find this aging process beautiful, although I tried to accelerate it a little bit with beeswax (bought directly to a beekeeper), but I didn’t want to completely do it myself (and didn’t have non-toxic diluters to be able to make the wax paste that can help more with that).
Final wheel fitting and testing
There’s a beautiful moment when all takes its final place and it always makes me feel from one side sad, and from another quite happy. Using a white mallet ensures no dark debris or marks stay in the wood. After this fitting another round of shaping the axle ends and shellac happened.
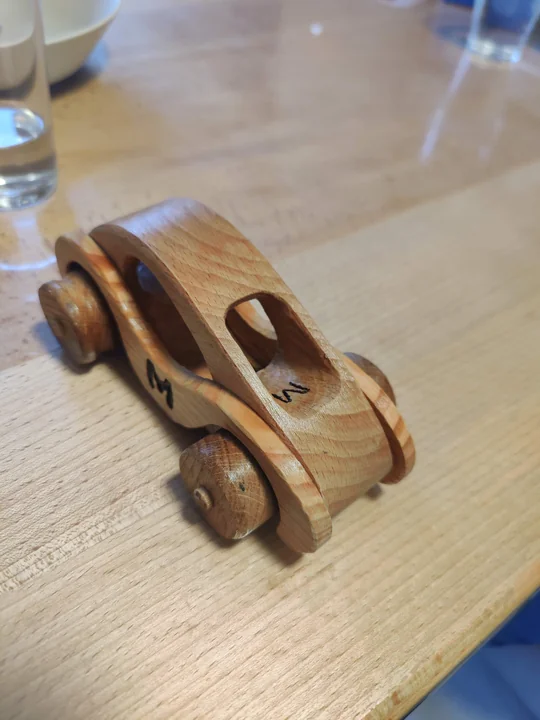
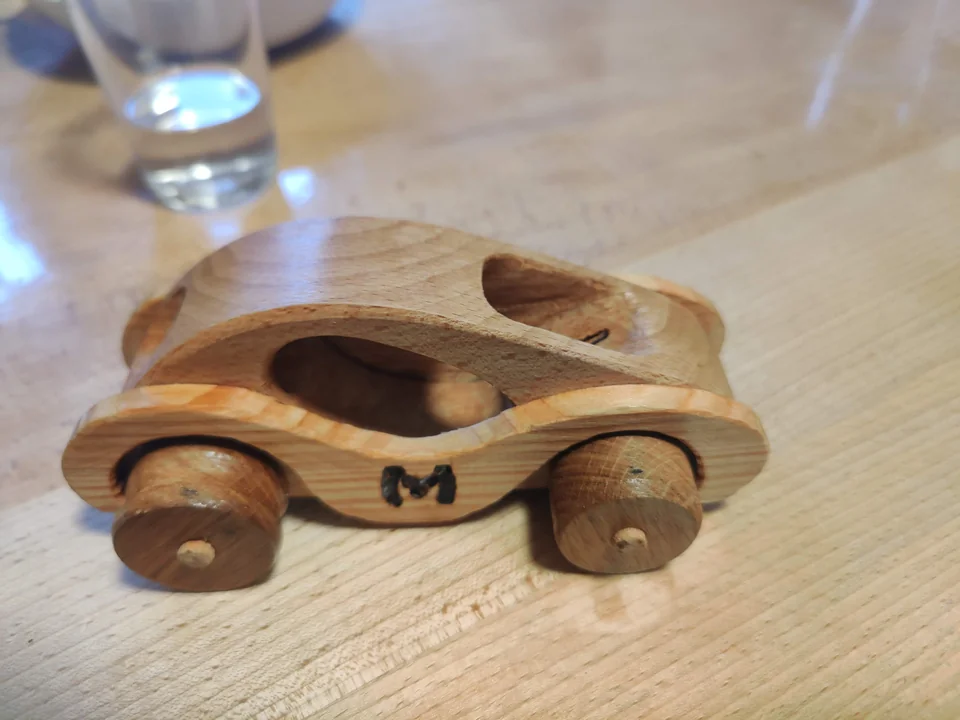
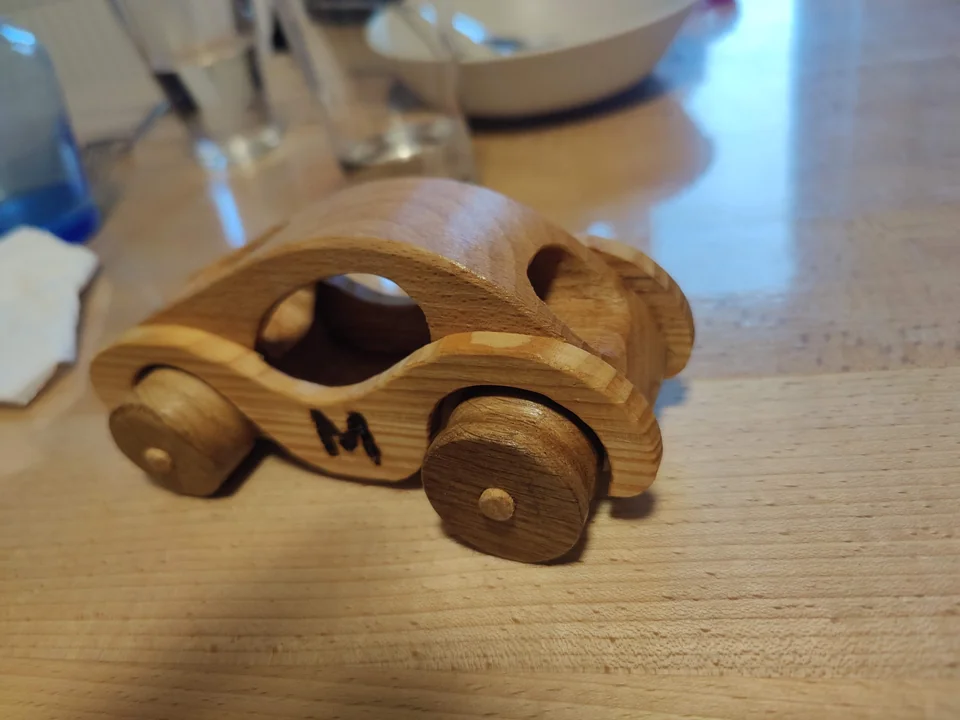
And the final testing here
The finished product
Thank you for reading!!!
Might post soon (or not)
Leo